My parents gave me a Kindle Touch for Christmas a few years ago. There are a lot of ways in which I’m still pretty old-school on the issue of books vs. ebooks, and I will never quit buying worthwhile books in paper form, but….I love my Kindle. No more vacations where I have to limit how many books I bring (like that time when I accidentally packed book five of Harry Potter instead of book four, or the time I assumed The Hunger Games book one would take the whole trip to read), no more getting boooooored while breastfeeding (neither of my kids were good enough eaters for me to go hands-free with a paperback), no more “where on earth are going to put these ones” moments in front of our overflowing bookshelves (in our old house–I have a proper library in our new one now!). There are definite advantages to e-readers, and I get good use out of mine.
But when I started shopping online for a cover (not sleeve) to protect my Kindle, I realized for the umpteenth time that I am a total cheapskate. I’m sorry, but I’m not shelling out $30+ for a basic, boring, personality-less cover. So I set out to make my own, with a self-imposed thirty-dollar limit.
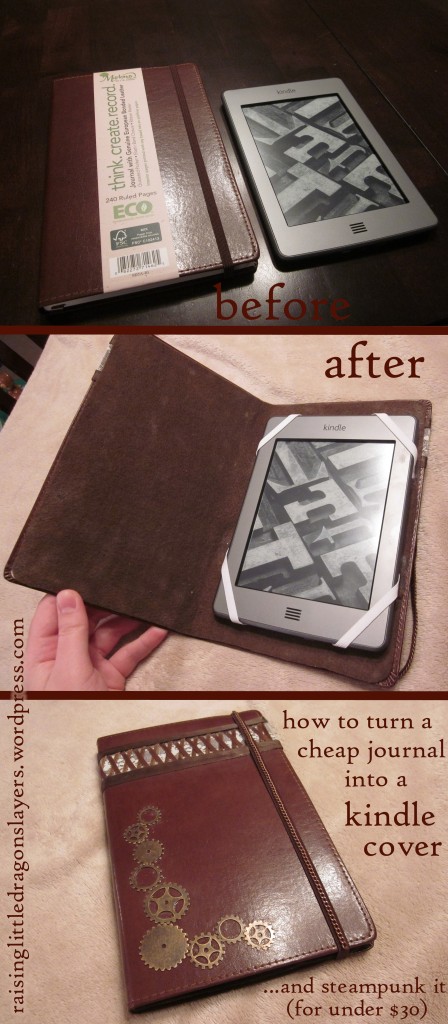
DIY Tutorial: How to turn a cheap journal into a Kindle cover (and steampunk it) for under $30.
I promise, this isn’t as complicated as you’d think. There’s a lot of attention to detail if you embellish it in the ways I did, but the ideas are simple ones. And you obviously don’t have to decorate it the way I did; you can apply the steps to turn a journal (or a hardcover book would work, too) into a Kindle cover and ignore the rest, if you like.
Here are my supplies:

What you’ll need.
For turning the journal into a Kindle cover:
- Journal (this leather one was $9.97 at Walmart)
- Felt (I had some leftover from another project, but you can buy it by the yard for a few bucks or by the sheet for under a dollar)
- 1/4″ elastic (again, I had some leftover already, but you can buy it here for $2.49)
- Thread
For “steampunking” it the way I did:
- Lace and ribbons (mine totaled $2.94, from a local craft store)
- Chain ($3 at Walmart)
- Gears (I got mine at artbeads.com for $9.09 total–they offer free U.S. shipping on orders of $10+, so I added something else to bump it up)
You’ll also need:
- X-acto knife
- Super glue
- Ruler
- Fine-tip permanent marker
- Needle (for hand-stitching)
- Safety pins
- Plier-thingies to cut the chain
I pulled it off for $25, but if I’d needed to buy the felt or elastic, it would have come closer to $30.
The first thing you’ll need to buy is the journal.

I wanted a brown leather one. I thought I’d have to check a few places, but I lucked out at Walmart and found one this one for $9.97.
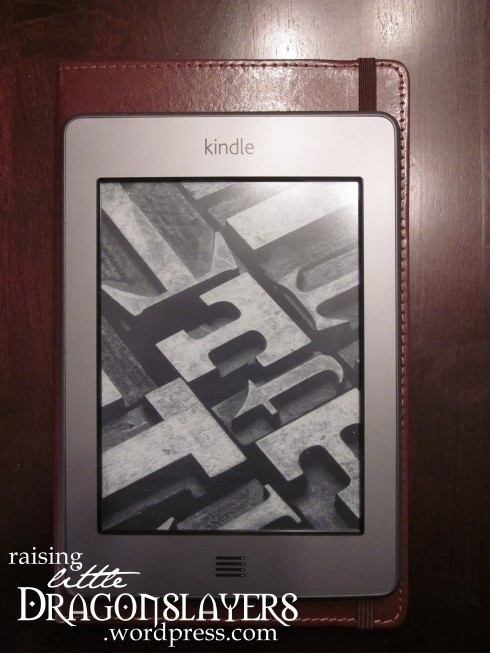
It was a little taller than I’d hoped for, but the width and depth were perfect. SOLD.
Once you know what you’re working with, plan out how you want to embellish it. This was my first foray into steampunk crafting, so I stuck with the basic trademarks of the genre: leather, lace and laces, and gears and chains. Obviously some of what I did wouldn’t have worked on a journal that didn’t have the elastic closure, or if the spine had not been smooth all the way around. And some of my ideas had to be thrown out the window when I couldn’t find in a store what I had in my head, or I found it had a higher pricetag than I’d expected.
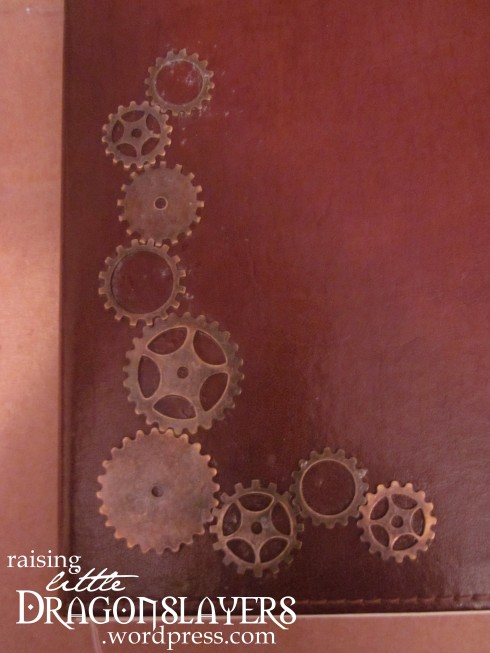
I was pretty excited to find these gears, though.
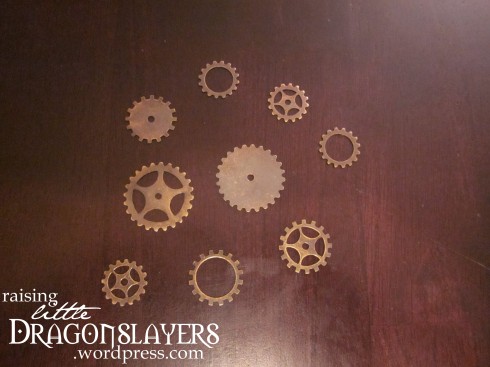
Kabela Design gears from artbeads.com.
Each of the three styles (solid, open, and spoked) comes in three sizes (16mm, 19mm, and 25mm), and they can be purchased individually for $0.70-1.54 (you can get discounts buying in bulk, too, though). They are pretty high-quality, solid metal. And artbeads.com offers free shipping with only a $10 minimum!
Kabela Designs gears from artbeads.com.
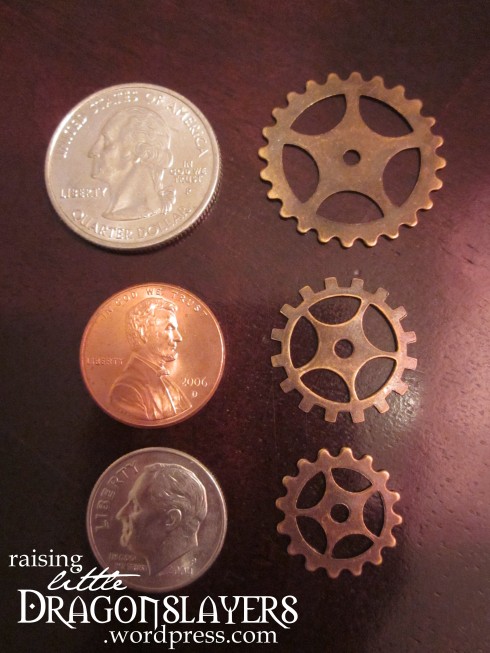
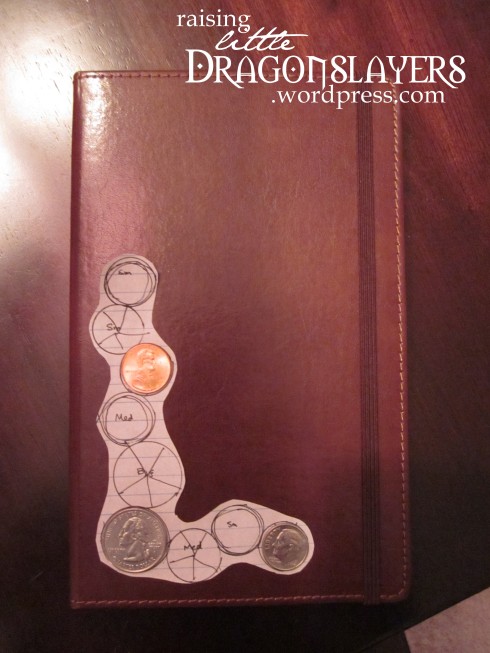
Before ordering them, I planned out how I wanted to arrange them, using coins to trace it onto paper.
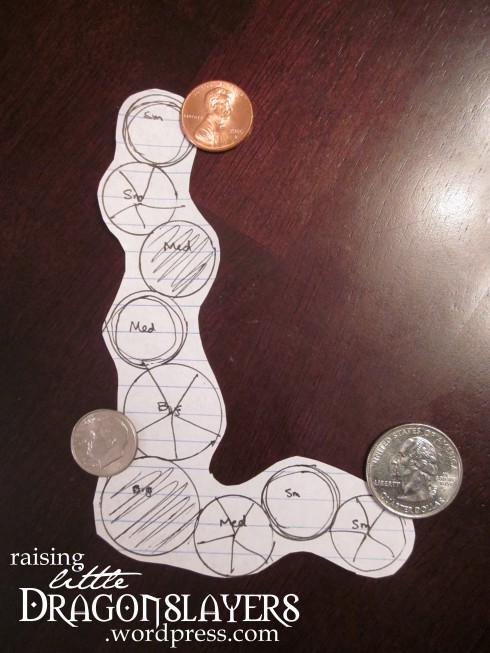
(The coins pictured are just keeping the paper from curling up while I took the picture).
Once I was happy with my plans, I placed my order.
Laying out the pieces.
The next step after finding the gears was gathering the rest of my materials and planning out exactly how it all would fit together. I didn’t think to keep my measurements for the lace and ribbons, so I don’t remember the exact numbers (I made this more than two years ago now), but I remember I measured all the way around the width of the journal (around the front, spine, and back) and bought a couple inches more than that for the lace and doubled it for the dark brown ribbon; the lighter brown, narrower ribbon was for the laces, so I measured the width (not length) of the lace, multiplied that by how many centimeters were in the first measurement (all the way around the width of the journal), doubled it (it’s lacing–you work with two ends, like shoelaces), and added some extra length to be on the safe side.
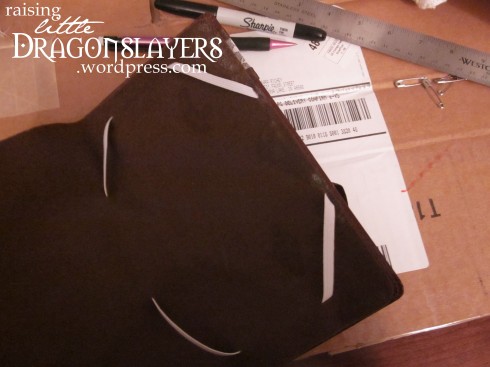
But before I began the embellishing, I tackled the removal of the pages from the journal cover.
I used an X-acto knife, cutting along the crease, to remove the pages from the cover.
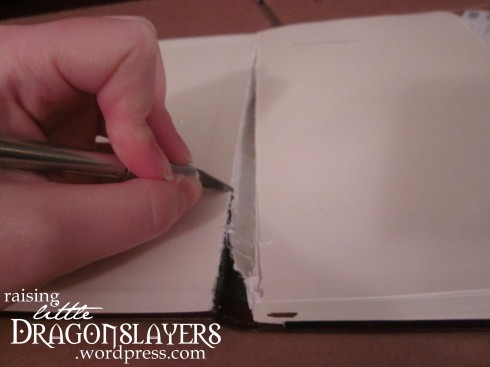
There was an extra layer I went back to remove. You’ll want to cut out everything you can, especially from the inside of the spine.
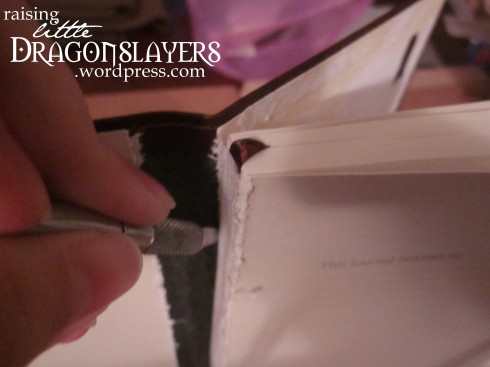
To cut through the back, I found it easier to go at it from the binding side.
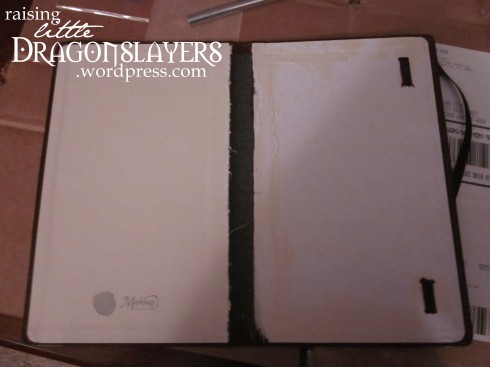
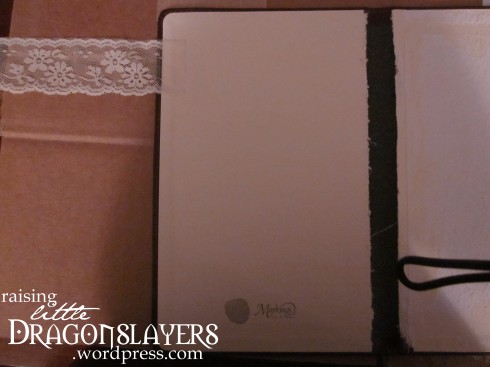
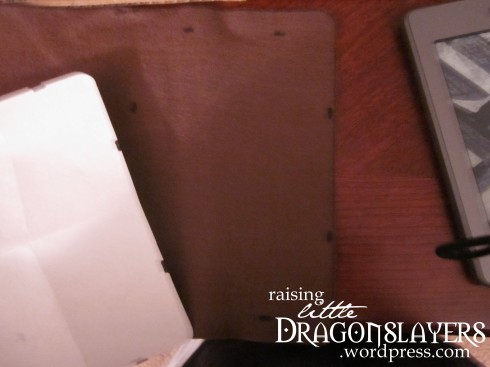
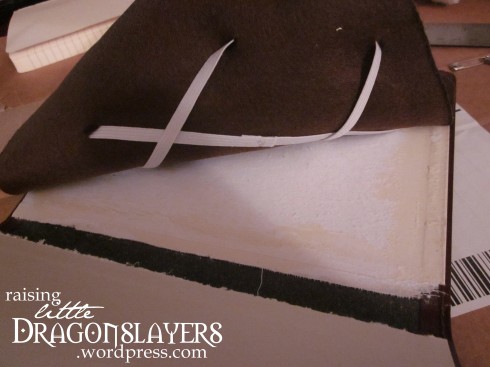
There was also this random cardboard pocket in the back, which I pulled out (that’s why the back inside cover looks white and torn). The only repercussion of that was that the ends of the elastic closure came loose as well. Easy fix, though–I just glued them back down. (The felt will end up covering them anyway.)
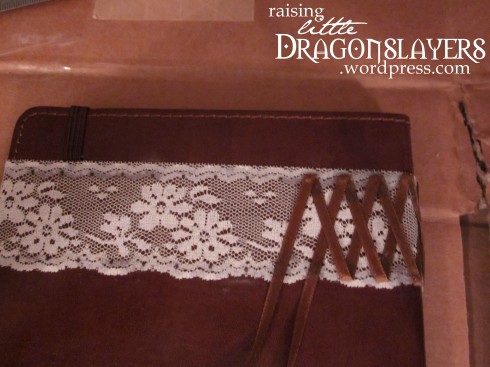
I wanted the ends of the lace and ribbon lacing to be hidden neatly under the felt, so I tackled the lacing next.
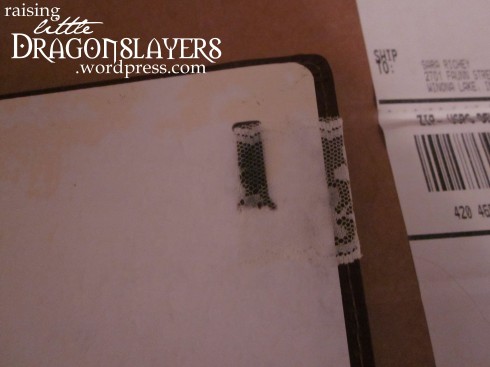
First, I glued one end of the lace to the front inside cover at the appropriate height (I wanted it to cover the top end of the elastic closure on the back).
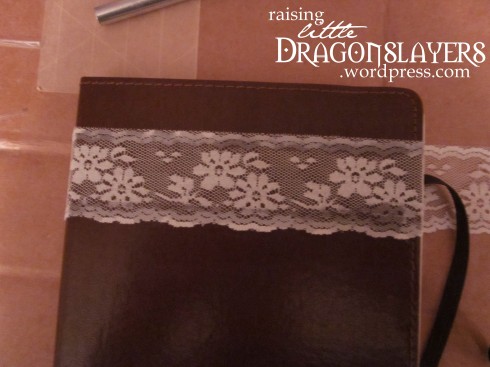
Then I wrapped the lace all the way around the cover, with the back end sticking out so I could be sure it lined up with the front end, and began gluing the edges down. (The glue shows up A LOT even when dry, so I only glued the parts that I planned to cover with the ribbons.)
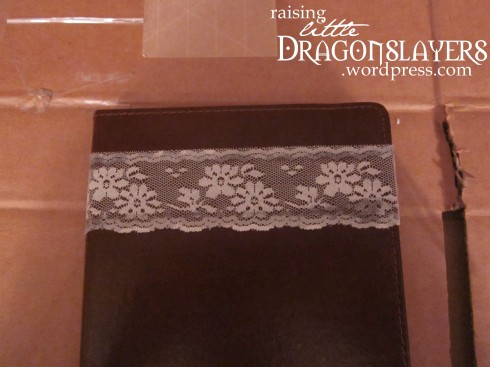
Glued all along the front…
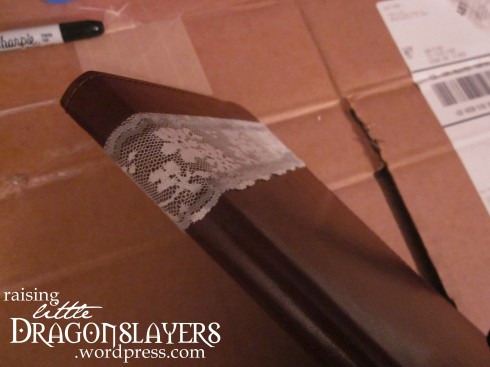
…around the spine…
…and along the back.
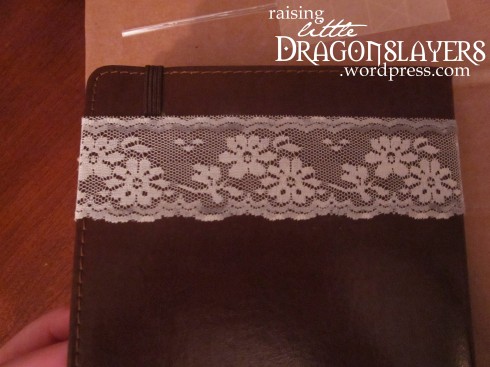
And, of course, I glued down the end inside the back cover.
Next came the lacing!
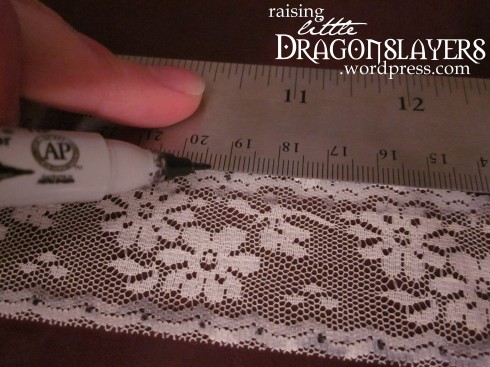
First, I used a fine-tip permanent marker and a ruler to make marks at one-centimeter intervals along both the top and bottom of the lace, all the way around the cover.

Next, I found the middle of the narrow, lighter-colored ribbon and glued it in place at the first top and bottom marks on the front of the cover. (Again, super glue is very visible, so be careful to only glue at the edges of the lace throughout this whole process!)
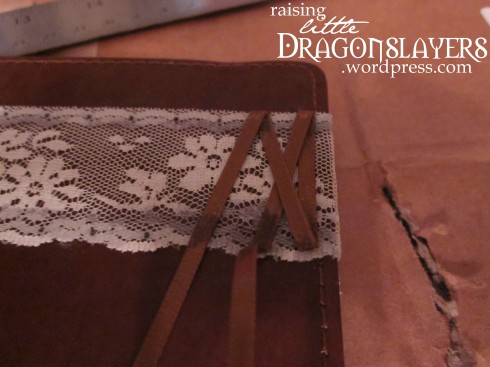
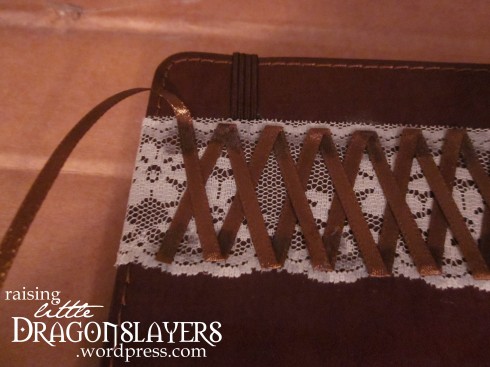
Then I zig-zagged the ribbon and glued it in place a mark at a time.
I started with the initial top piece and glued it down on the bottom, and from then on, always started with piece at the bottom right, glued it at the next top mark (to the left), then glued that same piece at the next bottom mark (to the left), and then switched to the other ribbon (now bottom right) to repeat the process. (If you don’t do it in the same order every time, then sometimes you’ll get one side going over the other and the next row will be the other way around, which just looks messy. This way, the top piece of every X is the one going from bottom right to top left.)
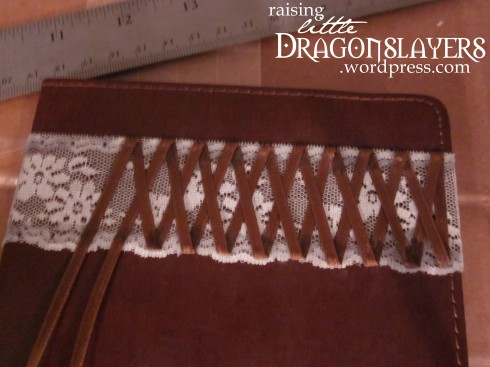
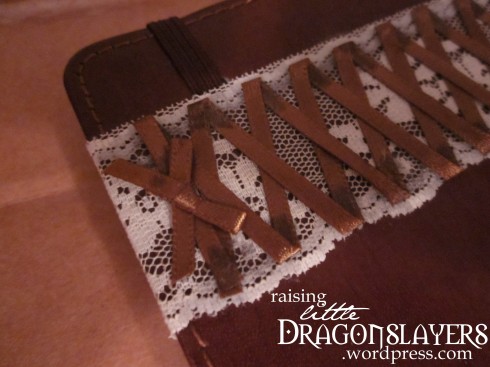
I continued around the spine and onto the back cover.
When I reached the final marks (at least a full centimeter from the edge of the cover), I glued both sides down and cut the excess.
I forgot to take pictures of the bow and small straight piece before I glued them on, but here’s what I did: I tied a small bow out of a piece of ribbon from the excess, cutting the tails to the length I wanted, and then cut a small straight piece the width of the lace. I actually sewed the bow onto the middle of the straight piece (if you don’t have thread that matches your ribbon, you can sew just the back of the knot in place so it won’t show on top) before gluing it on, but you could also just glue them both down one at a time.

(I wanted the bow on the back a} so it wouldn’t interfere with the elastic closure in the front, and b} because the front was busy enough and the back had little else going on.)
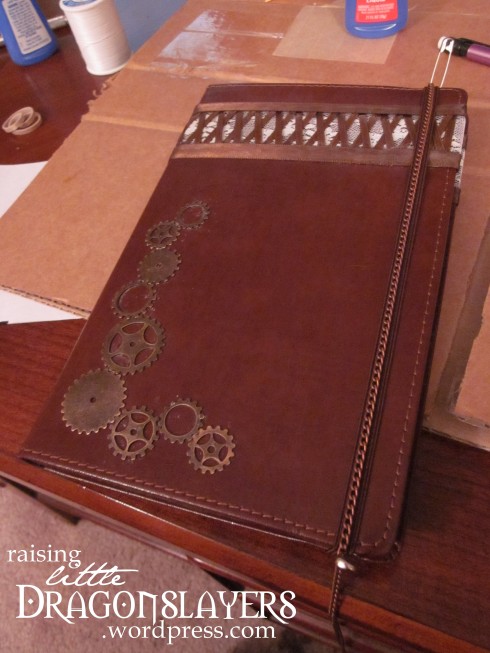
Next, I cut the dark brown ribbon in half and glued each piece in place over the edge of the lace and the lacing, all the way around.

This is the biggest thing that I felt I didn’t do neatly enough for my satisfaction; there were several sections that I glued too heavily, so the glue soaked through and remains visible.
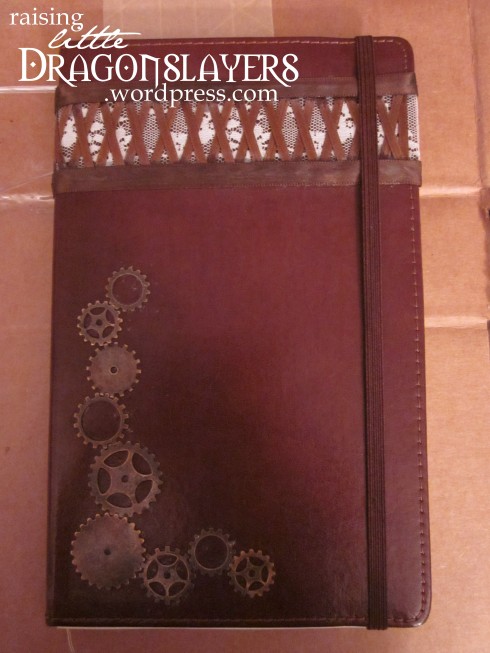
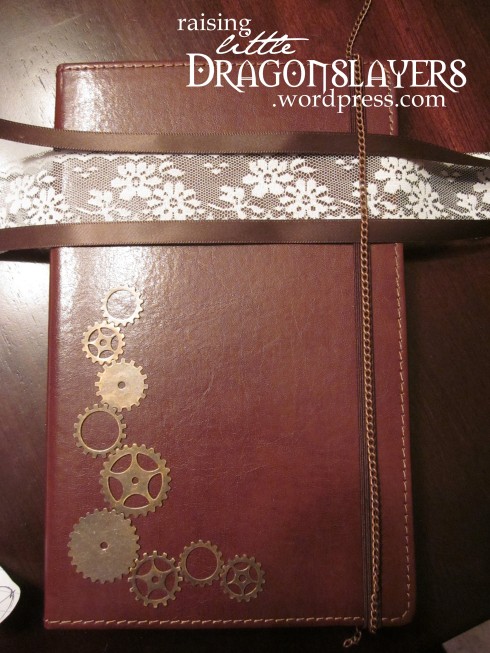
Then I glued the gears in place! (No process pics of that step, but all I did was lay them out according to my sketched plans and glue them down one at a time, starting with the corner piece and working my way out in either direction.)
This step got a little messy, too, unfortunately. There are a few spots where you can see a little excess glue on the leather; some if it I was able to scrape away (lightly!) with my X-acto knife.
Next step: lining the inside of the cover.
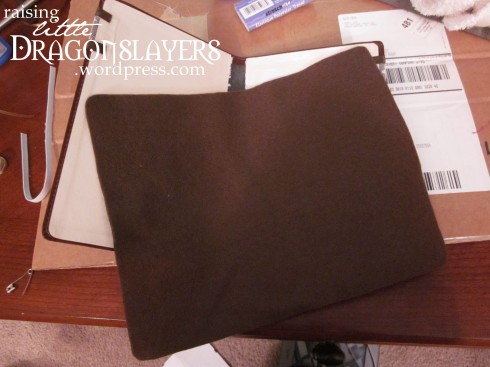
Cut a piece of felt to line the inside of the cover. My opinion on the best way to do this is to lay the cover, inside facedown, on top of the felt, and, holding the cover as flat as possible, trace around the cover onto the felt with a permanent marker. Then cut the felt just a little smaller than the shape you’ve traced.
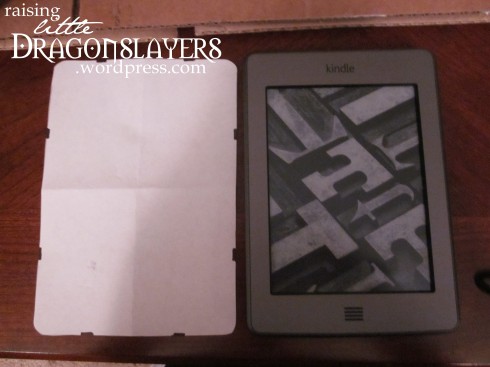
Next, trace the Kindle onto a sheet of paper. Determine where you want the elastic (that will hold the Kindle in place) to lie over the corners of the Kindle, and mark where the ends of ONE elastic loop will go onto one corner of the paper (the marks should match the width of the elastic you are using). Then fold your paper in half, and half again, and trace your two marks onto the edge of the paper on the other three corners. (This way, the loops will all be symmetrical.) Unfold the paper and darken your marks as necessary.
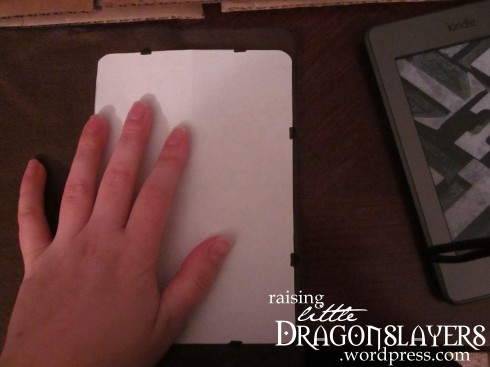
Place your paper template on the felt, where you want the Kindle to go. (I wanted mine held in place on the back cover, centered top-to-bottom.) Copy those marks on your template onto the felt with your permanent marker.
Those marks will be where you cut slits for the elastic loops.
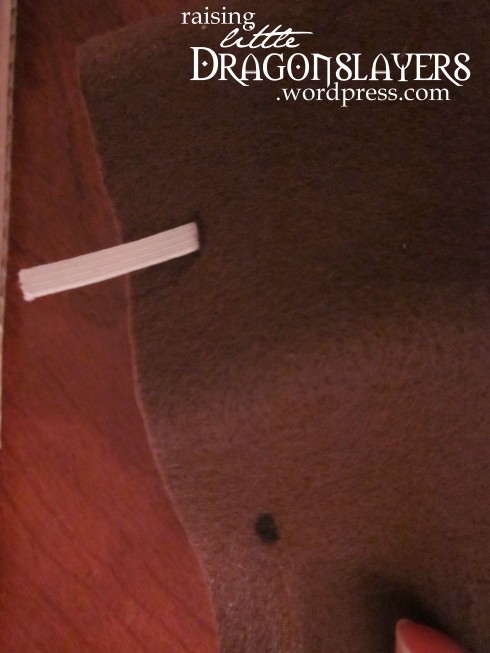
Use scissors to carefully cut slits just large enough for the elastic to fit through.
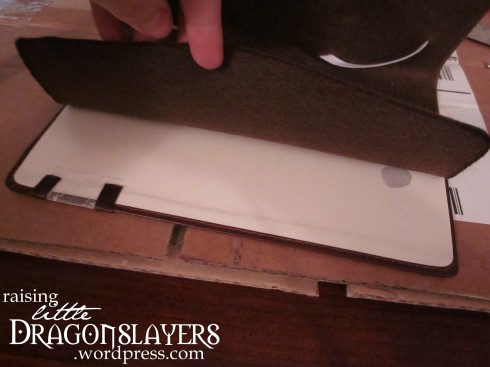
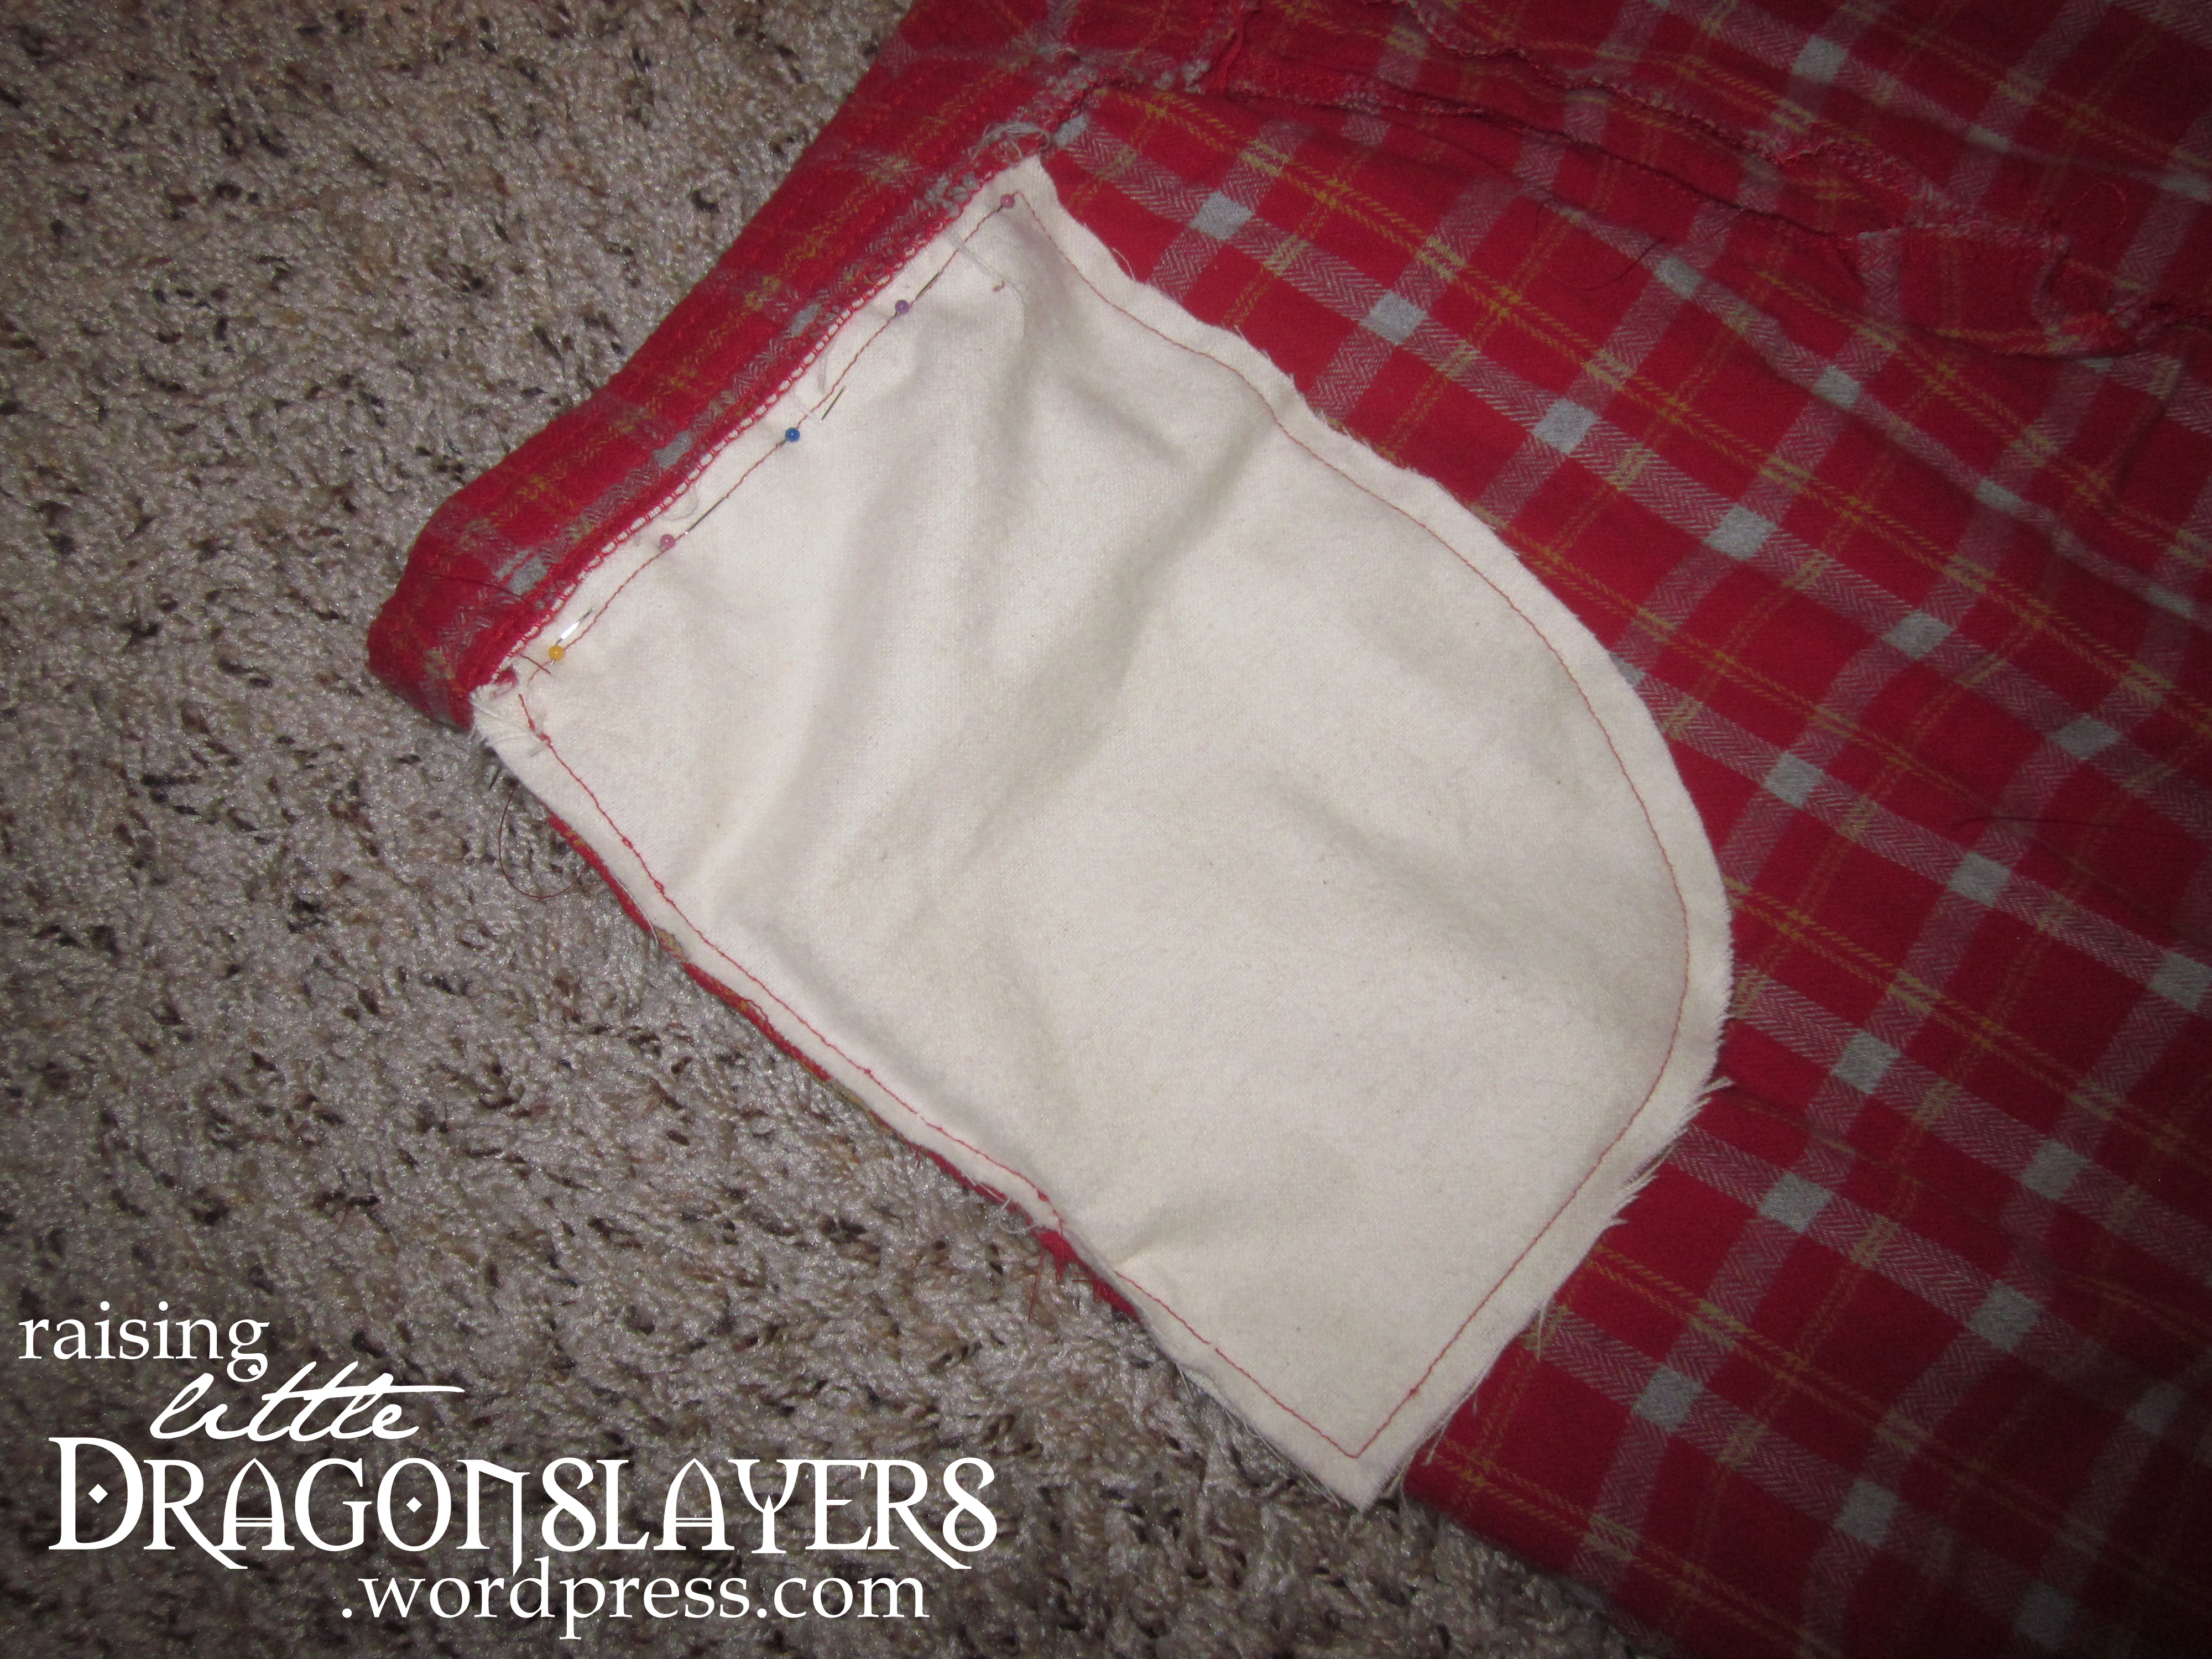
You’ll make two ovals out of the elastic, with the ends forming the loops on opposite corners (this picture is taken from the back of the felt–the side that will be glued down to the cover). Cut the elastic generously; once it’s stitched, you’ll cut off the excess.
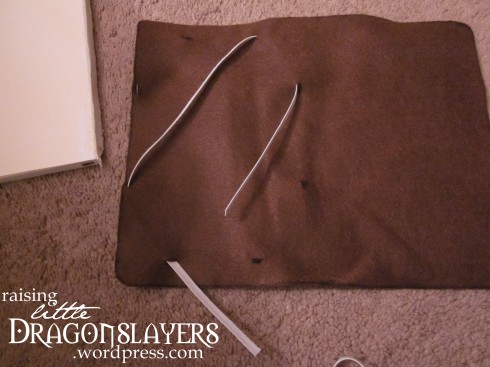
Here are the two loops, from the back (the side that will be glued down).
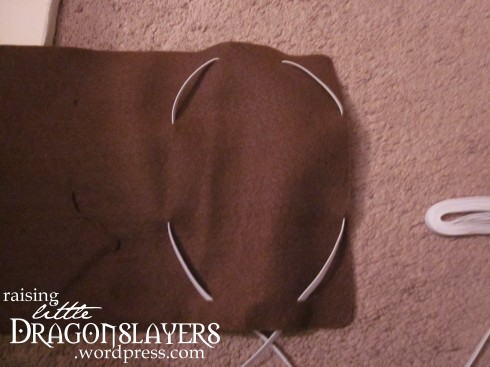
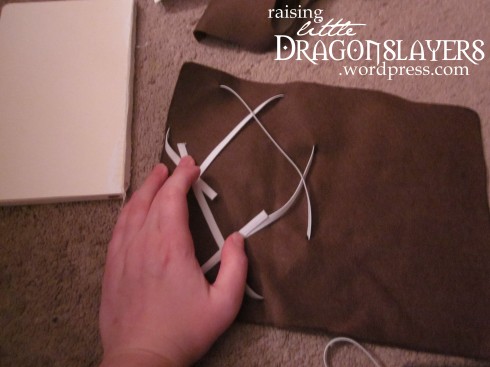
Here’s a shot of the front (the side that will hold the Kindle).
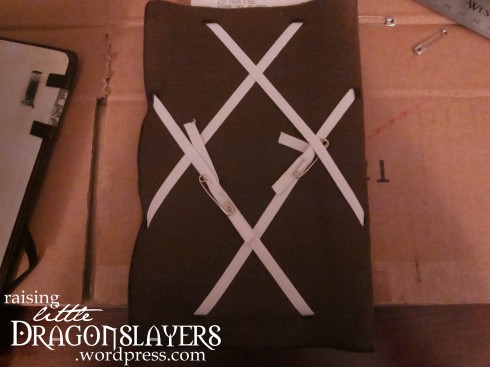
Place the Kindle into the loops, then pull the ovals tight from the back and safety pin the ends to overlap. You want the elastic to be tight enough that your Kindle won’t slip out, but not so tight that you have difficulty pulling a corner loose–the elastic should be taut, but not stretching (it will stretch as you place/remove your Kindle).
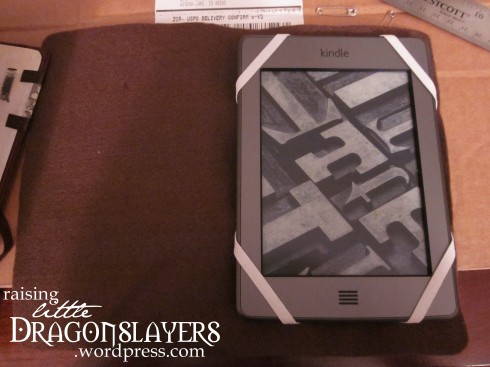
Make adjustments as necessary until you are satisfied with the fit.
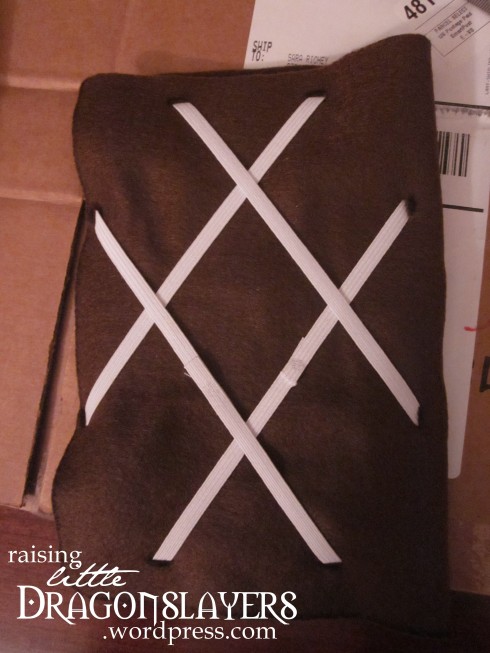
Next, hand-stitch the elastic ends where they are safety pinned to complete the ovals (this part won’t show, so using thread that matches isn’t really necessary). Cut off excess elastic.
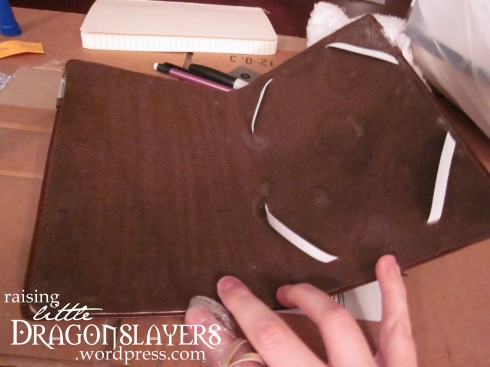
Now, you’ll begin gluing the felt to the inside of the cover! (Remove Kindle from loops first.) Line up the back edge of the felt and glue that in place first, being careful to glue just the felt (not the elastic).
The more super glue you use, the more it will bleed through the felt and be visible when dry. Don’t use more than you need (like I did! Oops).
Once the back edge is dry enough to stay in place, glue the felt down in increments (about half an inch to an inch at a time). Flip it up and place glue directly on the felt (staying well between the elastic ovals), then lay it back down on the cover and press to adhere. Allow to dry for a minute or two, and then repeat the process.
The reason you are avoiding getting glue on the elastic is that you don’t want the elastic glued in place onto the cover. In order to stretch to allow you to place and remove your Kindle, the elastic needs to be able to move freely between the felt and cover.
Make sure you hold the cover as flat as possible as you glue the felt onto the inside of the spine. If you don’t, you may not be able to open the cover all the way once the felt is in place.
The front cover is much easier to glue, since you don’t need to worry about avoiding the elastic. I’d learned by then, too, just how much the glue can show through the felt, so I glued this side more lightly. (Advantage to starting with the Kindle side: the Kindle covers all those sections where you can see the dried glue!)
Lining is finished! It is now a fully functioning Kindle cover. (You can see in this picture that I got tired of getting super glue all over my fingers: I wrapped a piece of saran wrap around one finger, held in place with a rubber band, and used just that finger to smooth down the felt as I glued it in place. Hey, whatever works!)
Just one more step: adding chain to the elastic closure.
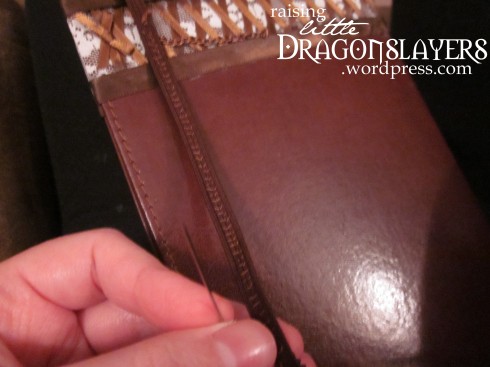
I didn’t want the chain to wrap all the way around the elastic (which would severely limit its ability to stretch); I just wanted it along the portion that stretched over the front of the cover. After placing my Kindle inside the cover and closing the cover with the elastic closure, I safety pinned one end of the chain at the top of where I wanted it to start, and then pinned it at the bottom. Don’t cut the chain yet!
I hand-stitched it into place exactly as I had pinned it, but when I tried closing it over my Kindle again, I realized that it was too tight–I should have given myself a little more slack in the chain. So I had to pull the stitches loose and try again. The second time, I pinned the top, laid out the chain, and then gave myself a few extra links before pinning the bottom. The chain looked a little too loose this time, but once it was stitched into place, it worked perfectly.
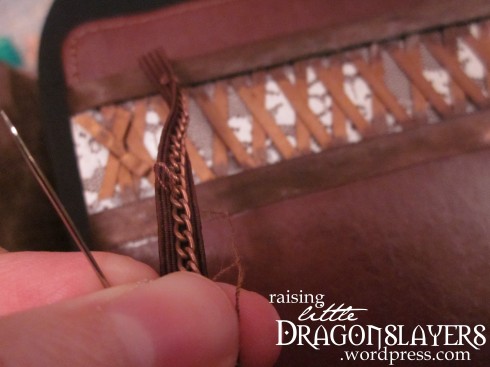
I hand-stitched the chain in place by going up through the middle of each link and over to the left, then up through that same link and over to the right, for each link, while holding the elastic slightly stretched to match the length of the chain. Once it’s done, the chain loosens link by link when the elastic isn’t stretched, so it doesn’t look loose at all, but it has enough give for the elastic to stretch comfortably to pull it over the cover to hold it closed.
This is what the stitching looks like on the back; not my prettiest work, but you can see how securely the chain is stitched to the elastic!
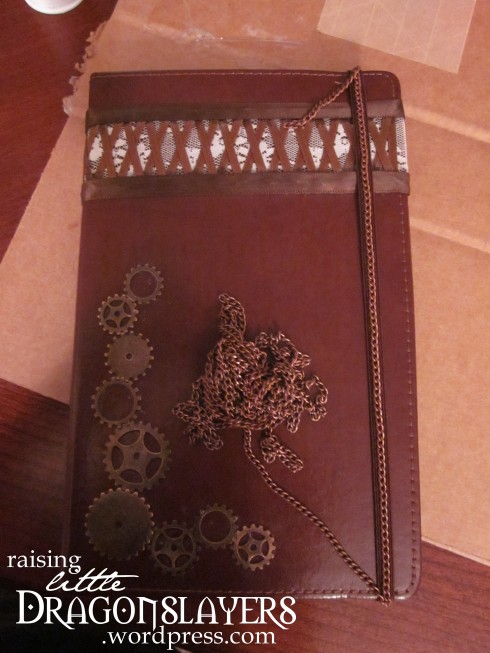
I opened and closed the cover a few more times (with the Kindle inside) to make extra sure that it worked before I cut the chain! Once it’s cut, there’s no going back. (Of course, the chain I bought had more than enough for me to cut a second length if I’d had to discard the first.)
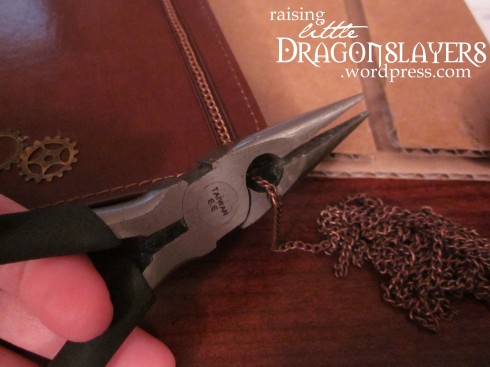
I dug around in my husband’s toolbox for this to cut the excess chain at the top and bottom (I cut the first link past the stitched links). I don’t know what they’re called (I want to say “needle-nosed pliers”?); I just knew how to use them to cut it..
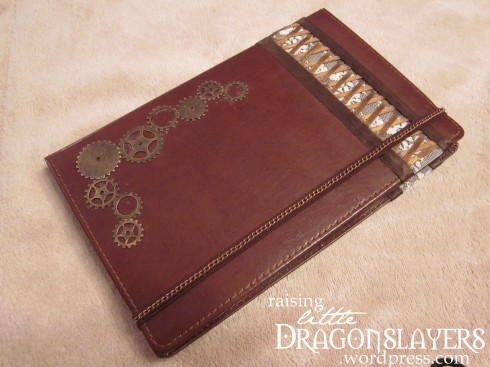
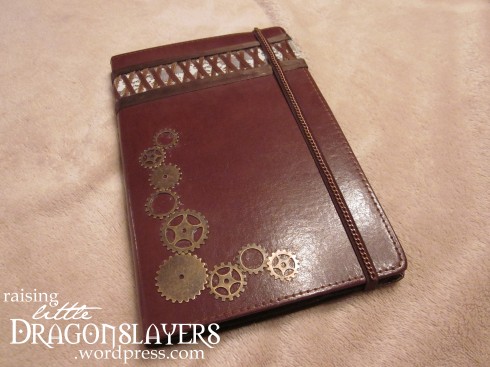
Finished product! Front.
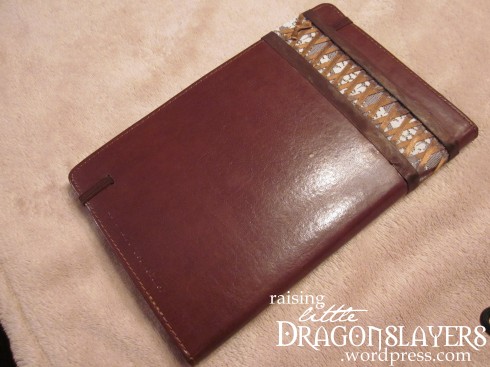
Back.
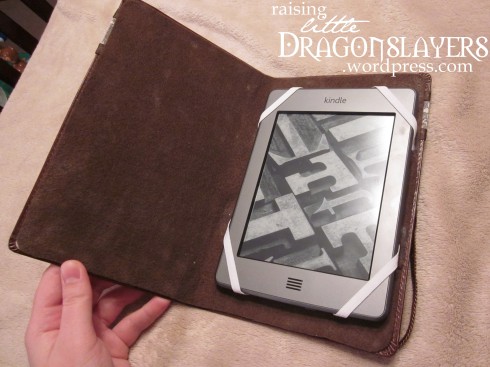
Inside.
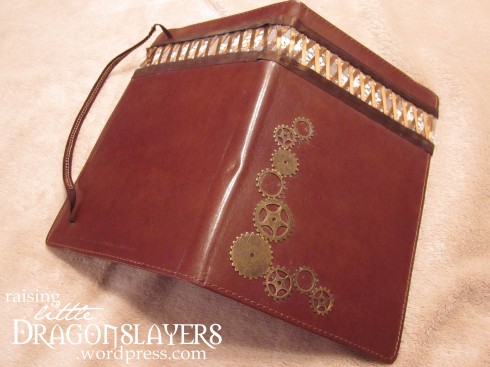
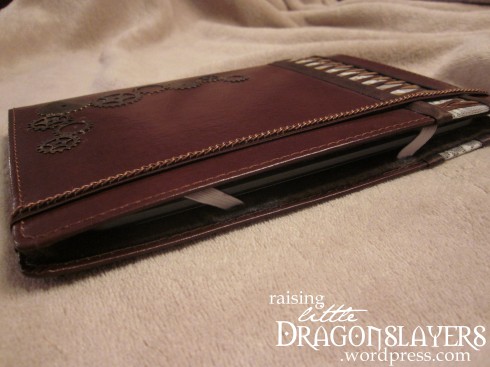
Full outside.
Since the cover is a tad longer than the Kindle, it bows slightly when closed. Not a big issue for me, but I did consider adding foam padding or something above and below the Kindle to fix this; ultimately, I decided against it, though–it just didn’t seem a big enough deal to be worth the hassle (or extra expense).
In the end, I was very happy with my work. The cover held up well (though it didn’t see much opportunity for wear and tear, as I don’t travel much, so my Kindle mostly just sits at home) until my dad passed along a Kindle cover he didn’t need that fit one of my needs better than my own homemade one–his flipped all the way open so the front cover could be folded under the back cover, which was much easier to hold open one-handed while I breastfed. So my steampunk cover isn’t in use at the moment, but I’m hanging onto it–I plan to use it again at some point!


